
Wall Preparation Tips for Interior Painting: How to Prepare Walls for Painting Like a Pro
- Enrique Herrera O.
- Feb 14
- 4 min read

Painting a room can completely transform your space, giving it a fresh, vibrant look. But before you even open that can of paint, the key to a flawless finish lies in proper wall preparation. Skipping this step can lead to peeling, uneven color, and a less durable paint job. I’m here to walk you through the essential steps to get your walls ready for painting, ensuring your project looks professional and lasts for years.
Why Wall Preparation Before Interior Painting Matters
You might be tempted to just slap on a coat of paint and call it a day. But trust me, taking the time to prep your walls properly will save you headaches down the road. Walls often have imperfections like cracks, holes, dirt, or old paint that can affect how new paint adheres and looks.
Here’s why wall preparation is crucial:
Improves paint adhesion: Clean, smooth surfaces help paint stick better.
Prevents peeling and bubbling: Removing loose paint and repairing damage stops future paint failure.
Creates a smooth finish: Filling holes and sanding rough spots means your paint will look even and professional.
Saves money and time: Proper prep reduces the need for touch-ups and repainting.
By following these wall preparation tips for painting, you’ll get a durable, beautiful finish that enhances your home or business space.
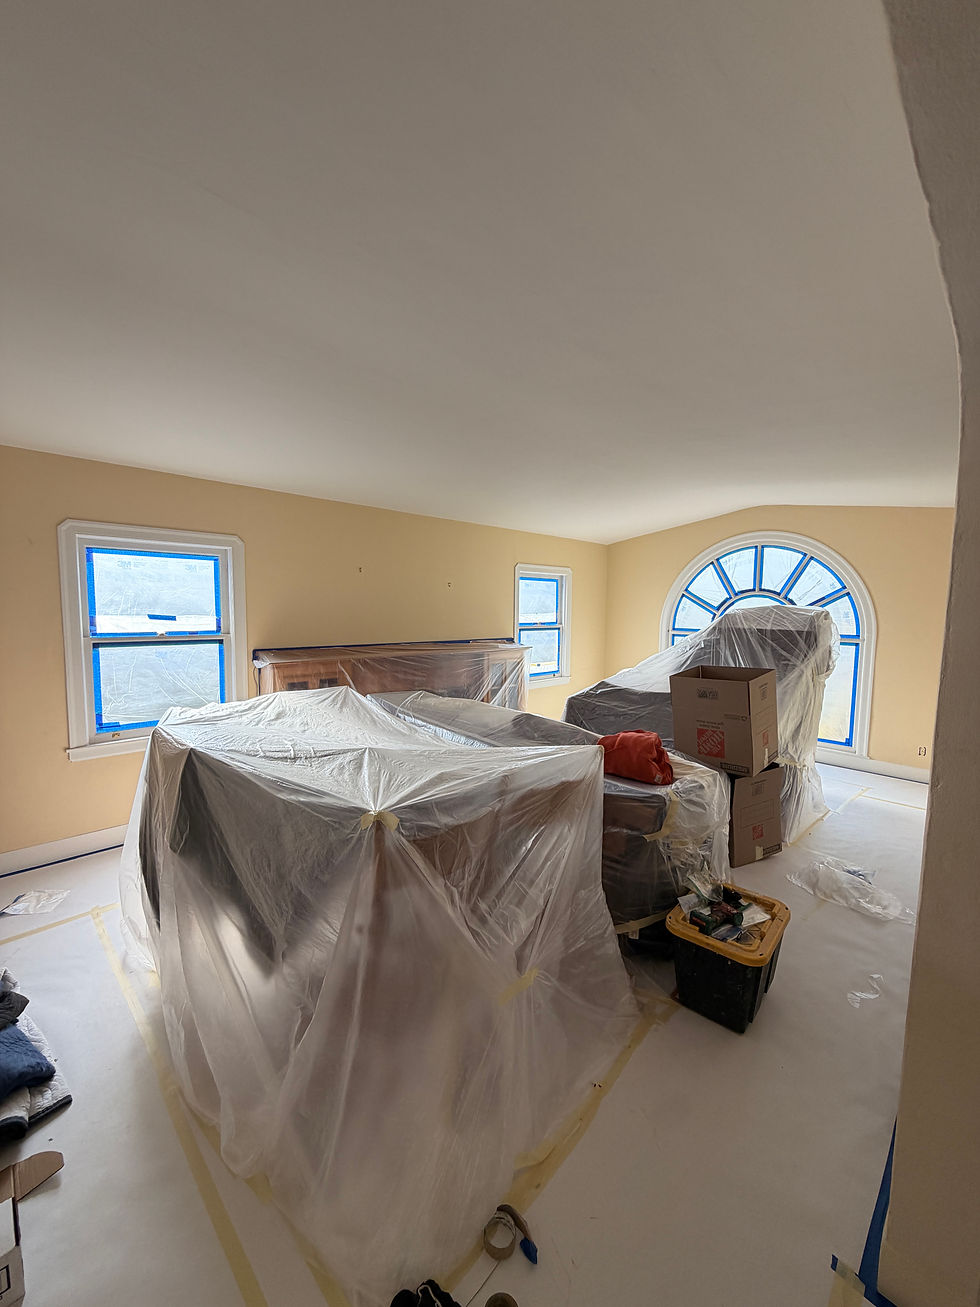
Step 1: Clear and Protect the Area
Before you start prepping the walls, clear the room as much as possible. Remove furniture or move it to the center and cover with drop cloths. Protect your floors with plastic sheeting or canvas drop cloths to catch dust and paint splatters.
Also, take down any wall hangings, outlet covers, and switch plates. This makes it easier to work and prevents accidental paint on hardware.
Step 2: Clean the Walls Thoroughly
Walls collect dust, grease, and grime over time, especially in kitchens and high-traffic areas. Painting over dirty walls can cause paint to peel or not adhere properly.
Use a mild detergent mixed with warm water.
Wipe down walls with a sponge or cloth.
For tougher stains or greasy spots, a degreaser or a solution of vinegar and water works well.
Rinse with clean water and let the walls dry completely.

Step 3: Do I Need to Sugar Soap Walls Before Painting?
You might have heard about sugar soap as a cleaning agent before painting. Sugar soap is a powerful cleaner that removes grease, dirt, and old paint residues, making it a popular choice for prepping walls.
When should you use sugar soap?
If your walls are particularly grimy or have nicotine stains.
When painting over glossy or previously painted surfaces.
For kitchen walls or areas exposed to cooking oils.
Using sugar soap can improve paint adhesion and ensure a smooth finish. Just follow the instructions on the package, rinse well, and allow the walls to dry fully before moving on.
If your walls are relatively clean, a simple detergent wash might be enough. But when in doubt, sugar soap is a safe bet for thorough cleaning.
Step 4: Repair Any Damage
Walls often have cracks, holes, or dents that need fixing before painting. Skipping this step will make these imperfections stand out once painted.
Here’s how to repair common wall issues:
Fill holes and cracks: Use spackling paste or joint compound. Apply with a putty knife, pressing it into the hole. Smooth the surface and let it dry.
Sand the repairs: Once dry, sand the patched areas with fine-grit sandpaper until smooth and flush with the wall.
Remove dust: Wipe the wall with a damp cloth to remove sanding dust.
Address peeling paint: Scrape off any loose or flaking paint with a putty knife or paint scraper. Sand the edges to feather the surface.
For larger cracks or damaged drywall, you might need to apply a drywall patch or consult a professional.
Step 5: Sand the Walls for a Smooth Surface
Even if your walls look fine, sanding is a crucial step. It helps remove any gloss from previous paint and creates a slightly rough surface that new paint can grip.
Use medium to fine-grit sandpaper (120-150 grit).
Sand the entire wall lightly, focusing on repaired areas and glossy spots.
After sanding, vacuum or wipe down the walls to remove dust.
Sanding might seem tedious, but it makes a huge difference in the final look of your paint job.

Step 6: Prime the Walls
Priming is often overlooked but is essential, especially if you’re painting over dark colors, stains, or bare drywall.
Primers:
Seal the surface.
Improve paint adhesion.
Prevent stains from bleeding through.
Help paint color appear more vibrant and even.
Choose a primer suited for your wall type and paint. Apply it evenly and let it dry according to the manufacturer’s instructions.
Step 7: Final Check and Masking
Before you start painting, do a final inspection:
Are all holes filled and sanded smooth?
Is the wall clean and dry?
Is the primer fully dry?
Once you’re satisfied, use painter’s tape to mask off trim, windows, and ceilings. This will give you clean, sharp paint lines.
Wrapping Up Your Wall Preparation
Taking the time to properly prepare your walls is the secret to a professional-looking paint job. From cleaning and repairing to sanding and priming, each step builds a solid foundation for your paint.
If you want to learn more about how to prep walls for painting, check out resources from trusted local experts. Remember, good preparation means your paint will look better and last longer, making your investment worthwhile.
Happy Interior painting!
Herrera's Bay Area Painting is proud to serve the East Bay community with top-quality residential and commercial painting services. We believe that great paint starts with great preparation, and we’re here to help you every step of the way.


Comments